


By Digital Archivist Shana Scott
Digitizing oversized materials, such as maps, blueprints, or posters, can be a challenge. In very general terms, the larger the item, the farther away the camera must be to capture it all in one shot, and the farther the camera, the lower the resolution. That means it’s not always possible to capture an item in a single shot and have the clarity and resolution that the item needs. Maps with lots of intricate lines and tiny names need a higher resolution to allow someone to zoom in without the image pixilating. So, what can be done?
High-Resolution Scanning and Stitching
The most common option for creating a single shot of an oversized item while maintaining high-resolution scans is a process called stitching. With stitching, we don’t need to take a single shot to create a whole representation of the item. Smaller sections of the item can be captured at the higher resolution needed and then combined to produce a complete digital image.
Maps
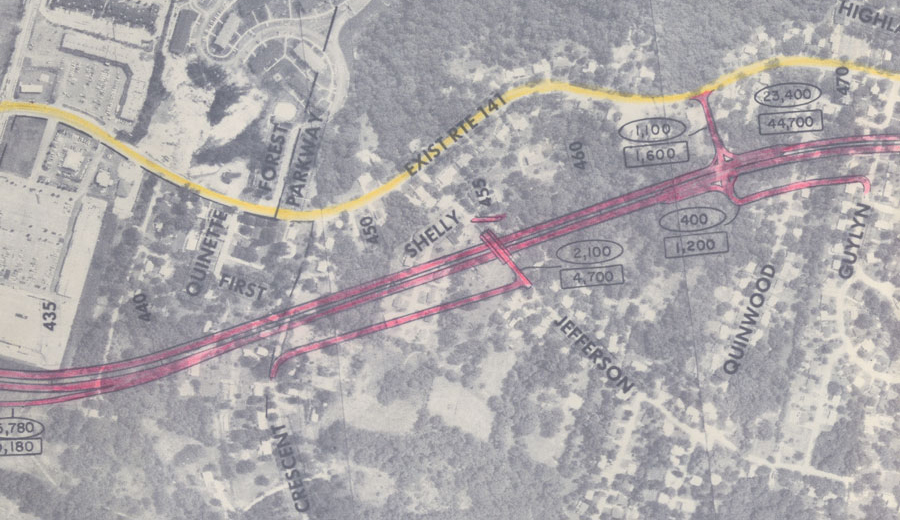
Let’s look at an example using Anderson Archival’s Phase One iXH 150MP camera. If we wanted to capture a map around 34” x 52” at 400 dpi, we would take a total of 4 captures of the map at different places, allowing for several inches of overlap.

Once we have the raw files, we save them out as TIFF Archival Masters, which will be kept along with the completed combined map. Then we run the images through software that finds the areas of overlap and matches them up. From this we get a single high-resolution image of the map in its entirety. This is the Production Master. Zooming in on this version reveals all the minute details that could be hard to see even on the physical item.

Having both the Archival Master and Production Master is important. We follow the Federal Agencies Digital Guidelines Initiative (FADGI) for our digitization standards, as is common in the US archival community. In this, the unstitched scans are considered the true Archival Masters, because they have not been altered in any way. They are the most accurate representation of the oversized item. But since people like to look at oversized materials as a whole item, it’s also important to keep a high-resolution master of the combined digital image, the Production Master.
P.S. Thanks to the St. Louis County Library History and Genealogy Department for allowing us to use their collection to illustrate!
4 Tips for Successful Oversized Stitching
As with any software, stitching isn’t always perfect. But there are a few tips and tricks to produce the best results when stitching oversized documents.
- Keep the document as flat as possible during capture
One of the biggest troublemakers for stitching is uneven documents. You want the overlapping areas to match up perfectly. If one capture has the overlap area slightly raised or at a different angle, the details of the other capture won’t align with it. This is frustrating and time consuming to fix.
- Don’t change the perspective
Just like with uneven captures, any change in perspective can create major problems. The distance from the camera, the angle, dpi… all of it matters when you’re stitching oversized items. Changes in perspective can lead to one capture being larger or smaller than the others, having a different level of detail to work with, or images that can’t match up.
- Provide ample overlap
The more overlap you can provide, the better. It’s not always practical to have large overlap areas but give as much as you can. With more overlap, the software has more room to find a path of least resistance. Instead of stitching through a fold, it can find a flatter area to move through or an area with few details where any changes are less noticeable.
- Always check the stitching line
How you see the stitching line depends on the software you use, but no matter how you do it, always zoom in and follow the stitching line. It’s the best way to make sure there are no problems or defects in the composite image, and it allows you to manually correct any that do pop up.
Whether you’re working with maps, blueprints, or posters, oversized documents can still be digitized into high-quality images that expand the reach of your collection. If you’d like help with your oversized collection, contact us today for a free consultation.